


 Liquid error (sections/image-banner line 171): invalid url input
Stainless steel is one of the most durable and sought-after materials in the engraving world. Whether you are creating industrial tags, decorative art, or a custom engraved stainless steel plate for a high-end client, the results are timeless.
For owners of the OneLaser Hydra 9 Gen2, the ability to work with metal opens a massive revenue stream. In this guide, we will explore the exact process of laser engraving on stainless steel plate, the equipment you need, and the professional settings to ensure success on your first try.

1. Essential Preparation Checklist
Before you hit "Start" in LightBurn, you need to gather your materials. Using the right stainless steel plates to engrave is just as important as the machine settings.
a. The Material
For this project, we recommend a round stainless steel plate. Ensure it is 304 or 316 grade stainless steel, as these are the most common and provide the best contrast.

b. The Hardware
- Machine: OneLaser Hydra 9 Gen2.
- Source: 50W Fiber Laser option.
- Bed: Ensure your honeycomb or aluminum slat bed is level.
c. The Software
LightBurn: The industry-standard software for Hydra users.
The File: A high-contrast vector or high-resolution grayscale image (e.g., the Statue of Liberty).
2. Guide to Laser Engraving on Stainless Steel Plate
Following a standardized workflow ensures that you don't waste expensive stainless steel engraving plates.
Step 1: Setting Up the Workspace
Place your stainless steel plate on the working bed. Use magnets or a jig to ensure it doesn't move during the engraving process.
- Open LightBurn and import your file (e.g., the Statue of Liberty).
- Resize the artwork to fit your plate dimensions.
- Use the "Frame" feature to ensure the laser path stays within the boundaries of the metal.

Step 2: The Parameters
The 50W Fiber laser is incredibly powerful. You do not need 100% power to get a beautiful mark. In fact, lower power with higher speed often yields a cleaner, darker finish.
Engraving Parameters Table
|
Action |
Speed (mm/s) |
Max Power (%) |
Min Power (%) |
|
Laser Engraving |
1200 |
30 |
30 |
Once these are set, verify your focus. For fiber lasers, focus is extremely narrow. Use your machine's focus tool to ensure the beam is at its smallest point on the surface of the plate.

Step 3: Post-Processing and Finishing
Once you press "Start," the fiber laser will begin the "flying engraving" process.
You will notice a bright light and a distinct buzzing sound. This is the high-frequency pulse of the fiber laser reacting with the metal.
After the laser finishes, the plate may have some "soot" or heat tint around the edges of the engraving.
- Wipe the plate down with a microfiber cloth and a bit of glass cleaner or alcohol.
- The result should be a crisp, dark, and permanent mark that is smooth to the touch.

3. The Right Tool for the Job: Fiber vs. CO2
If you have researched a stainless steel name plate engraving machine, you likely know that standard CO2 lasers (the kind used for wood and acrylic) cannot naturally engrave bare metal. They require a marking spray.
However, the OneLaser Hydra Gen2 changes the game with its Q-Switch Fiber Upgrade.
What is the Q-Switch Fiber Upgrade?
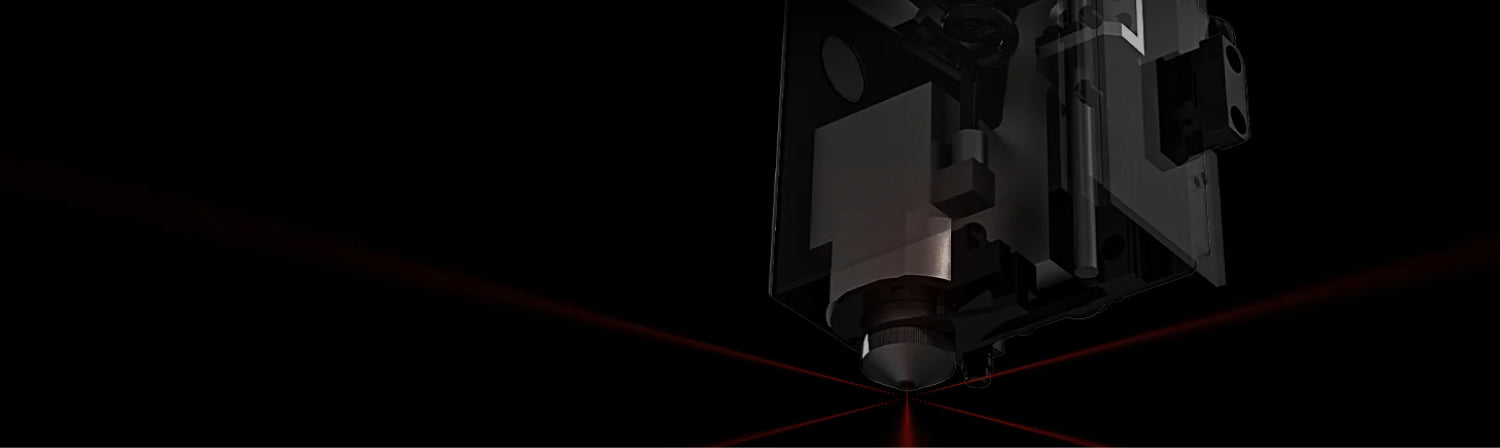
The Q-Switch Fiber Upgrade is a dedicated metal-fiber laser source that can be added to your Hydra Gen2.
- High-Speed Flying Engraving: It is designed for rapid, stable, and repeatable results.
- Power Options: Available in 30W or 50W.
- Easy Installation: Designed for users to install themselves.
- Bare Metal Capability: Unlike CO2, this fiber source interacts directly with the metal molecules, creating a deep, permanent mark without chemical sprays.
Consult Our Experts Now!Join Our Facebook Group
4. Best Practices for Custom Engraved Stainless Steel Plate
To achieve "Pro" status with your stainless steel laser engraver, keep these actionable tips in mind:
a. Master the "Hatch"
In LightBurn, the way you fill a shape is called a "Hatch." For stainless steel, using a 45-degree angle or a cross-hatch (two passes at different angles) can create a much deeper and more uniform black mark.
b. Managing Heat
Metal conducts heat. If you are engraving a very small, intricate custom engraved stainless steel plate, the metal can warp. If you notice warping, increase your speed and decrease your power, or perform the engraving in two passes to allow the metal to cool in between.
c. Jigs are Your Friend
If you are doing a run of 50 stainless steel name plate engraving jobs, don't align them one by one. Use your Hydra to cut a jig out of scrap plywood that holds the plates in the exact same spot every time.
5. Technical Comparison: 30W vs. 50W Fiber Options
When choosing your upgrade for the Hydra Gen2, consider your production volume.
|
Feature |
30W Fiber |
50W Fiber |
|
Engraving Speed |
Fast |
Ultra-Fast |
|
Deep Engraving |
Capable with more passes |
Excellent (Ideal for 3D/Deep) |
|
Color Marking |
Possible on certain steels |
Easier to achieve via heat control |
|
Best For |
Hobbyists & Small Shops |
Industrial & High-Volume Shops |
Conclusion
Stainless steel engraving doesn't have to be intimidating. By using the OneLaser Hydra 9 Gen2 with the Fiber upgrade, you bypass the messy chemicals associated with CO2 lasers.
Simply clean your plate, set your LightBurn parameters (Speed 1200 / Power 30), and let the Q-Switch technology do the heavy lifting. The result is a high-contrast, permanent mark that adds significant value to your products.
FAQs
Can I laser engrave stainless steel?
Yes! While a CO2 laser requires a marking spray to create a surface mark, a Fiber laser (like the Hydra Gen2 upgrade) physically alters the surface of the metal for a permanent, deep engraving.
Will stainless steel rust after engraving?
Generally, no. However, if you engrave very deeply into low-grade stainless steel, you can occasionally disturb the chromium oxide layer that prevents rust. For outdoor use, 316-grade stainless is recommended to maintain a rust-free finish after engraving.
Can engraving be removed from stainless steel?
Because a fiber laser removes or alters the metal, the engraving is permanent. It can only be removed by grinding down the metal surface or sanding it away significantly.
How long does laser engraving last on stainless steel?
It will last the lifetime of the plate. It is resistant to UV light, salt water, and extreme temperatures, making it ideal for harsh environments.
What is the difference between etching and engraving stainless steel?
Etching is a shallower process that mostly changes the color or texture of the surface. Engraving is a deeper process that actually removes material to create a cavity. The Hydra Gen2 Fiber laser is capable of both marking and engraving, depending on your settings.






1 comment
Can this work on the XRF also?